Double Swing Gate Loop Finder: Install Diagrams + Sealant & Sand Calculators
BD Loop

Double swing gates require a slightly more complex loop layout due to the wider swing path created by two moving gate leaves. BD Loops are strategically placed to detect vehicles approaching and within the gate's path, helping to ensure safety and smooth operation. A dedicated shadow loop is placed between the two gate panels to detect vehicles before the gates close. This setup prevents accidental contact, keeps the gates open when necessary, and allows them to reverse if a vehicle enters the path mid-operation. With BD Loops, double swing gate systems function more precisely, improving security and user experience.

Double swing gates require a minimum of three loops: an inside reverse loop (or exit loop), a shadow loop positioned between the gates, and an outside reverse loop. Reverse loops will either hold the gates open or reopen them if a vehicle is detected. The shadow loop detects vehicles before the gates begin moving, but it does not function during gate motion—making the reverse/exit loops essential on both sides. For properties with long driveways, an additional exit loop placed further down the approach improves convenience by giving the system more time to open the gates before the vehicle reaches them.

Key Takeaways:

  • Minimum 3 loops: inside reverse/exit, shadow (centered), and outside reverse.
  • Shadow loop only detects vehicles when gates are stationary.
  • Reverse/exit loops are essential to cover detection during gate motion.
  • Add an extra exit loop farther down long driveways for smoother operation.

How to Read BD Loop Numbers

Double Swing Gate Safety Loop Finder

PLEASE NOTE: BD Loops provides loop layout diagrams to promote understanding of proper loop installations. While they strive for accuracy, the information may not account for all variables, and users should consider unique site conditions. The diagrams are for informational purposes, not specific safety or installation guidance. The installer and owner are responsible for ensuring proper design, implementation, and maintenance.

BD Loops does not guarantee that the diagrams will meet vehicle detection needs in every case. They make no warranties regarding their products or diagrams and are not liable for misuse, modifications, or damages caused by third-party installations. Users assume all risks, including personal injury, related to the use of BD Loops' products and materials.

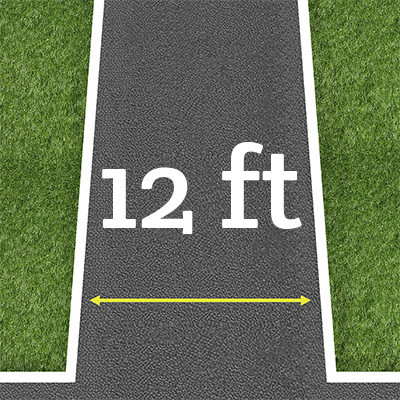
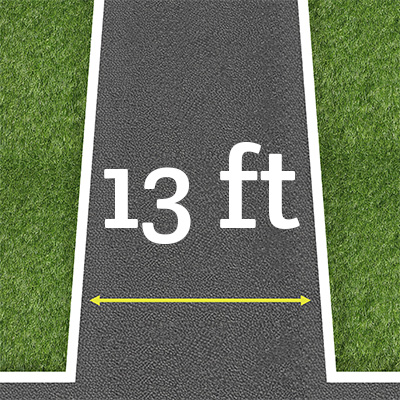
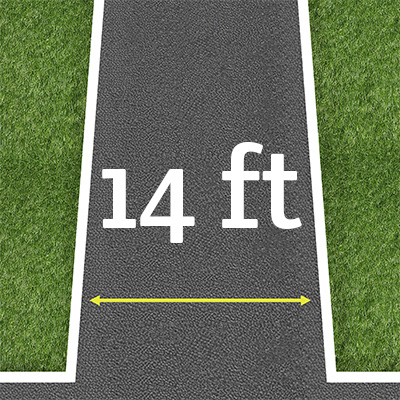
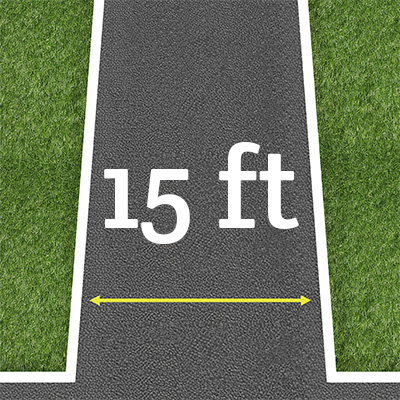
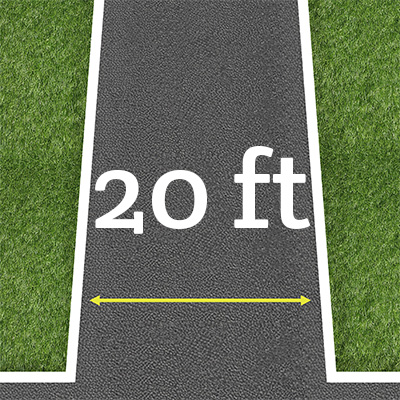
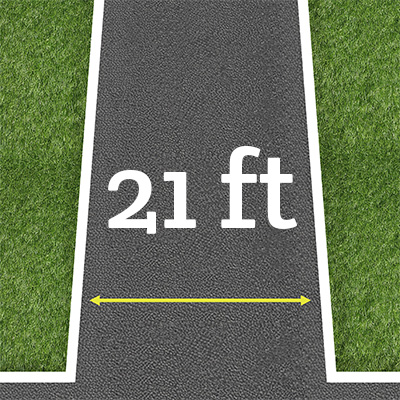
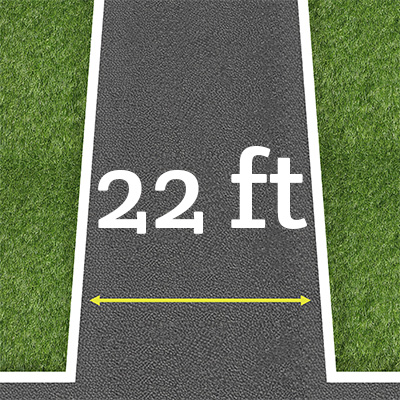
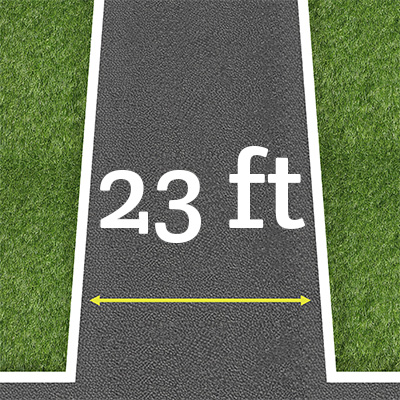
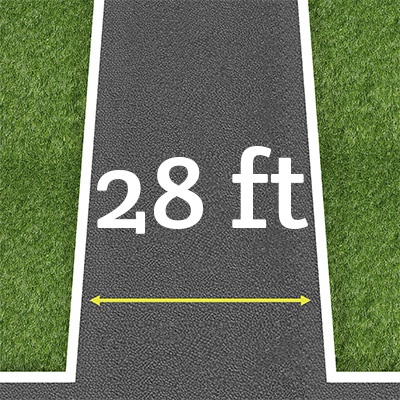
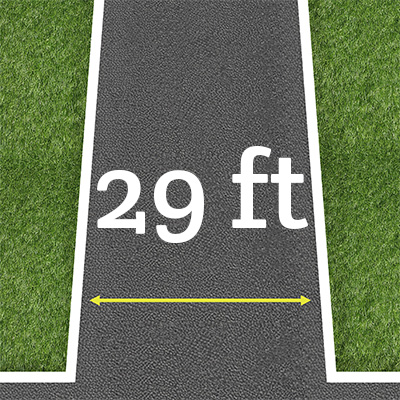
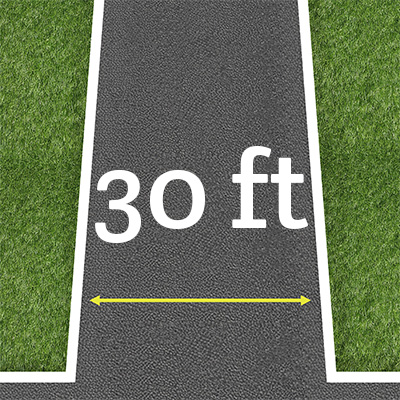
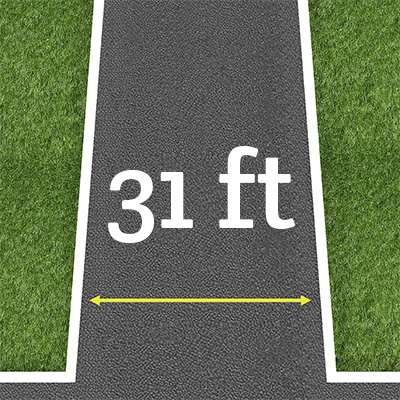
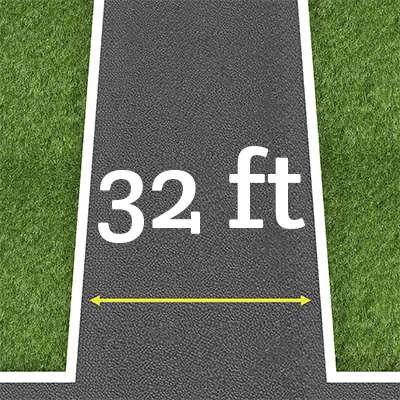
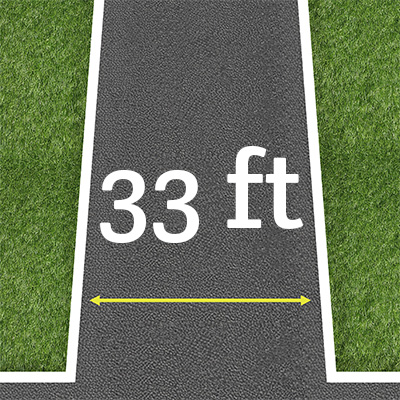
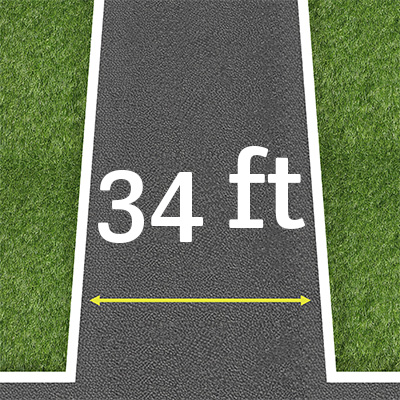
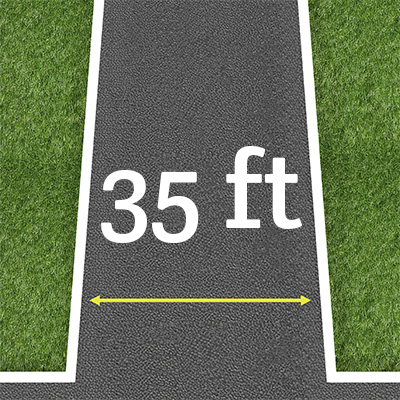
Driveway Width Inward Direct Burial Loops Inward Direct Burial Loops Outward Direct Burial Loops Outward Direct Burial Loops
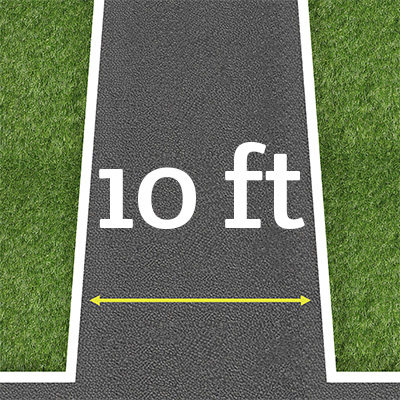
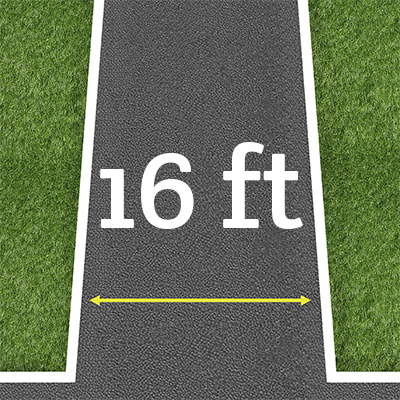
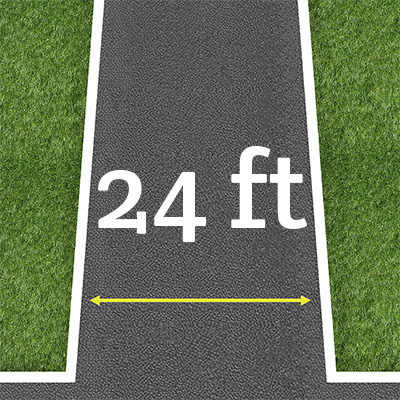
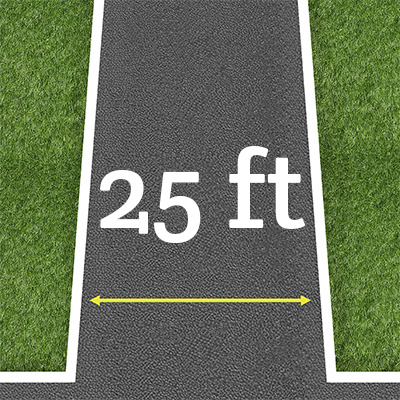
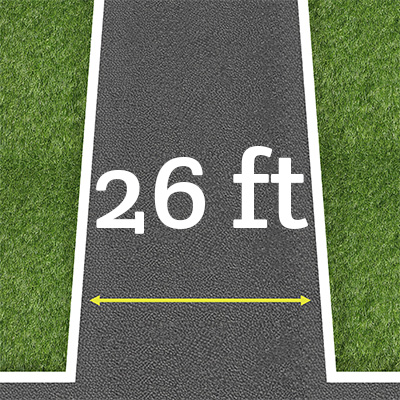
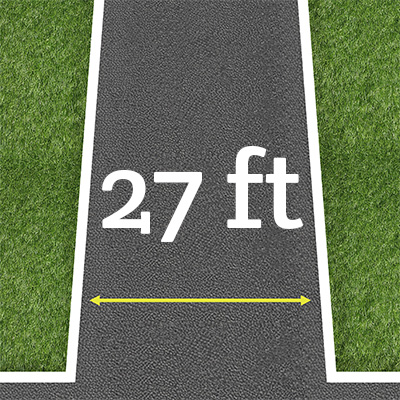
Driveway Width Graphic

Reverse Loop: SC 24-50

Exit Loop: SC 24-100

Shadow Loop: SC 14-50

Example Install Diagram

Reverse Loop: EL 24-60

Exit Loop: EL 24-100

Shadow Loop: RL 14-40

Example Install Diagram

Reverse Loop: SC 24-50

Exit Loop: SC 24-100

Shadow Loop: SC 14-50

Example Install Diagram

Reverse Loop: EL 24-60

Exit Loop: EL 24-100

Shadow Loop: RL 14-40

Example Install Diagram
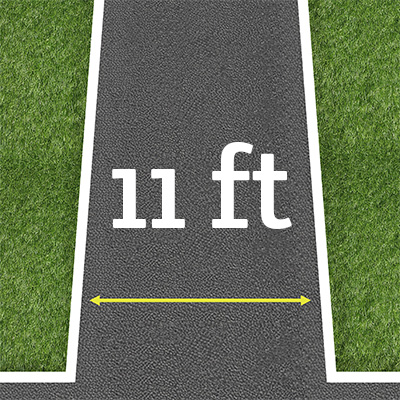
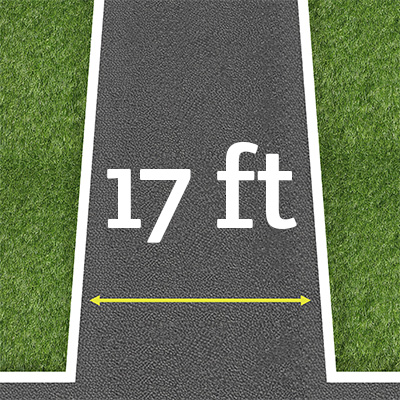
Driveway Width Graphic

Reverse Loop: SC 28-50

Exit Loop: SC 28-100

Shadow Loop: SC 16-50

Example Install Diagram

Reverse Loop: EL 28-60

Exit Loop: EL 28-100

Shadow Loop: RL 16-40

Example Install Diagram

Reverse Loop: SC 28-50

Exit Loop: SC 28-100

Shadow Loop: SC 16-50

Example Install Diagram

Reverse Loop: EL 28-60

Exit Loop: EL 28-100

Shadow Loop: RL 16-40

Example Install Diagram
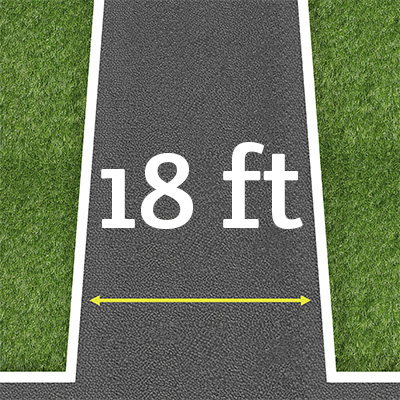
Driveway Width Graphic

Reverse Loop: SC 28-50

Exit Loop: SC 28-100

Shadow Loop: SC 18-50

Example Install Diagram

Reverse Loop: EL 28-60

Exit Loop: EL 28-100

Shadow Loop: RL 18-40

Example Install Diagram

Reverse Loop: SC 28-50

Exit Loop: SC 28-100

Shadow Loop: SC 14-50

Example Install Diagram

Reverse Loop: EL 28-60

Exit Loop: EL 28-100

Shadow Loop: RL 18-40

Example Install Diagram
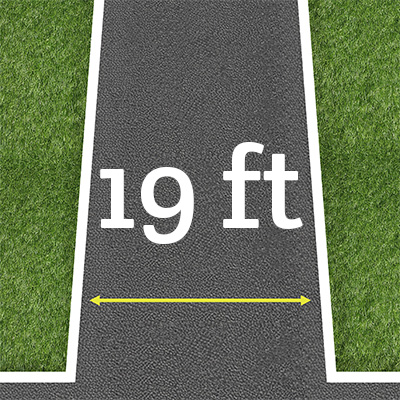
Driveway Width Graphic

Reverse Loop: SC 32-50

Exit Loop: SC 32-100

Shadow Loop: SC 16-50

Example Install Diagram

Reverse Loop: EL 32-60

Exit Loop: EL 32-100

Shadow Loop: RL 16-40

Example Install Diagram

Reverse Loop: SC 32-50

Exit Loop: SC 32-100

Shadow Loop: SC 16-50

Example Install Diagram

Reverse Loop: EL 32-60

Exit Loop: EL 32-100

Shadow Loop: RL 16-40

Example Install Diagram
Driveway Width Graphic

Reverse Loop: SC 32-50

Exit Loop: SC 32-100

Shadow Loop: SC 18-50

Example Install Diagram

Reverse Loop: EL 32-60

Exit Loop: EL 32-100

Shadow Loop: RL 18-40

Example Install Diagram

Reverse Loop: SC 32-50

Exit Loop: SC 32-100

Shadow Loop: SC 18-50

Example Install Diagram

Reverse Loop: EL 32-60

Exit Loop: EL 32-100

Shadow Loop: RL 18-40

Example Install Diagram
Driveway Width Graphic

Reverse Loop: SC 36-50

Exit Loop: SC 36-100

Shadow Loop: SC 22-50

Example Install Diagram

Reverse Loop: EL 36-60

Exit Loop: EL 36-100

Shadow Loop: RL 22-40

Example Install Diagram

Reverse Loop: SC 36-50

Exit Loop: SC 36-100

Shadow Loop: SC 22-50

Example Install Diagram

Reverse Loop: EL 36-60

Exit Loop: EL 36-100

Shadow Loop: RL 22-40

Example Install Diagram
Driveway Width Graphic

Reverse Loop: SC 36-50

Exit Loop: SC 36-100

Shadow Loop: SC 24-50

Example Install Diagram

Reverse Loop: EL 36-60

Exit Loop: EL 36-100

Shadow Loop: RL 24-40

Example Install Diagram

Reverse Loop: SC 36-50

Exit Loop: SC 36-100

Shadow Loop: SC 24-50

Example Install Diagram

Reverse Loop: EL 36-60

Exit Loop: EL 36-100

Shadow Loop: RL 24-40

Example Install Diagram
Driveway Width Graphic

Reverse Loop: SC 40-50

Exit Loop: SC 40-100

Shadow Loop: SC 28-50

Example Install Diagram

Reverse Loop: EL 40-60

Exit Loop: EL 40-100

Shadow Loop: RL 28-40

Example Install Diagram

Reverse Loop: SC 40-50

Exit Loop: SC 40-100

Shadow Loop: SC 28-50

Example Install Diagram

Reverse Loop: EL 40-60

Exit Loop: EL 40-100

Shadow Loop: EL 28-60

Example Install Diagram
Driveway Width Graphic

Reverse Loop: SC 40-50

Exit Loop: SC 40-100

Shadow Loop: SC 30-50

Example Install Diagram

Reverse Loop: EL 40-60

Exit Loop: EL 40-100

Shadow Loop: RL 30-40

Example Install Diagram

Reverse Loop: SC 40-50

Exit Loop: SC 40-100

Shadow Loop: SC 30-50

Example Install Diagram

Reverse Loop: EL 40-60

Exit Loop: EL 40-100

Shadow Loop: RL 30-40

Example Install Diagram
Driveway Width Graphic

Reverse Loop: SC 44-50

Exit Loop: SC 44-100

Shadow Loop: SC 33-50

Example Install Diagram

Reverse Loop: EL 44-60

Exit Loop: EL 44-100

Shadow Loop: RL 33-40

Example Install Diagram

Reverse Loop: SC 44-50

Exit Loop: SC 44-100

Shadow Loop: SC 33-50

Example Install Diagram

Reverse Loop: EL 44-60

Exit Loop: EL 44-100

Shadow Loop: RL 33-40

Example Install Diagram
Driveway Width Graphic

Reverse Loop: SC 44-50

Exit Loop: SC 44-100

Shadow Loop: SC 30-50

Example Install Diagram

Reverse Loop: EL 44-60

Exit Loop: EL 44-100

Shadow Loop: RL 30-40

Example Install Diagram

Reverse Loop: SC 44-50

Exit Loop: SC 44-100

Shadow Loop: SC 30-50

Example Install Diagram

Reverse Loop: EL 44-60

Exit Loop: EL 44-100

Shadow Loop: RL 30-40

Example Install Diagram
Driveway Width Graphic

Reverse Loop: SC 46-50

Exit Loop: SC 46-100

Shadow Loop: SC 34-50

Example Install Diagram

Reverse Loop: EL 46-60

Exit Loop: EL 46-100

Shadow Loop: RL 34-40

Example Install Diagram

Reverse Loop: SC 46-50

Exit Loop: SC 46-100

Shadow Loop: SC 34-50

Example Install Diagram

Reverse Loop: EL 46-60

Exit Loop: EL 46-100

Shadow Loop: RL 34-40

Example Install Diagram
Driveway Width Graphic

Reverse Loop: SC 48-50

Exit Loop: SC 48-100

Shadow Loop: SC 36-50

Example Install Diagram

Reverse Loop: EL 48-60

Exit Loop: EL 48-100

Shadow Loop: RL 36-40

Example Install Diagram

Reverse Loop: SC 48-50

Exit Loop: SC 48-100

Shadow Loop: SC 36-50

Example Install Diagram

Reverse Loop: EL 48-60

Exit Loop: EL 48-100

Shadow Loop: RL 36-40

Example Install Diagram
Driveway Width Graphic

Reverse Loop: SC 52-50

Exit Loop: SC 52-100

Shadow Loop: SC 40-50

Example Install Diagram

Reverse Loop: EL 52-60

Exit Loop: EL 52-100

Shadow Loop: EL 40-60

Example Install Diagram

Reverse Loop: SC 52-50

Exit Loop: SC 52-100

Shadow Loop: SC 40-50

Example Install Diagram

Reverse Loop: EL 52-60

Exit Loop: EL 52-100

Shadow Loop: EL 40-60

Example Install Diagram
Driveway Width Graphic

Reverse Loop: SC 52-50

Exit Loop: SC 52-100

Shadow Loop: SC 42-50

Example Install Diagram

Reverse Loop: EL 52-60

Exit Loop: EL 52-100

Shadow Loop: RL 42-40

Example Install Diagram

Reverse Loop: SC 52-50

Exit Loop: SC 52-100

Shadow Loop: SC 42-50

Example Install Diagram

Reverse Loop: EL 52-60

Exit Loop: EL 52-100

Shadow Loop: RL 42-40

Example Install Diagram
Driveway Width Graphic

Reverse Loop: SC 54-50

Exit Loop: SC 54-100

Shadow Loop: SC 45-50

Example Install Diagram

Reverse Loop: EL 54-60

Exit Loop: EL 54-100

Shadow Loop: RL 45-40

Example Install Diagram

Reverse Loop: SC 54-50

Exit Loop: SC 54-100

Shadow Loop: SC 45-50

Example Install Diagram

Reverse Loop: EL 54-60

Exit Loop: EL 54-100

Shadow Loop: RL 45-40

Example Install Diagram
Driveway Width Graphic

Reverse Loop: SC 56-50

Exit Loop: SC 56-100

Shadow Loop: SC 48-50

Example Install Diagram

Reverse Loop: EL 56-60

Exit Loop: EL 56-100

Shadow Loop: RL 48-40

Example Install Diagram

Reverse Loop: SC 56-50

Exit Loop: SC 56-100

Shadow Loop: SC 48-50

Example Install Diagram

Reverse Loop: EL 56-60

Exit Loop: EL 56-100

Shadow Loop: RL 48-40

Example Install Diagram
Driveway Width Graphic

Reverse Loop: SC 58-50

Exit Loop: SC 58-100

Shadow Loop: SC 52-50

Example Install Diagram

Reverse Loop: EL 58-60

Exit Loop: EL 58-100

Shadow Loop: RL 52-40

Example Install Diagram

Reverse Loop: SC 58-50

Exit Loop: SC 58-100

Shadow Loop: SC 52-50

Example Install Diagram

Reverse Loop: EL 58-60

Exit Loop: EL 58-100

Shadow Loop: RL 52-40

Example Install Diagram
Driveway Width Graphic

Reverse Loop: SC 60-50

Exit Loop: SC 60-100

Shadow Loop: SC 54-50

Example Install Diagram

Reverse Loop: EL 60-60

Exit Loop: EL 60-100

Shadow Loop: RL 54-40

Example Install Diagram

Reverse Loop: SC 60-50

Exit Loop: SC 60-100

Shadow Loop: SC 54-50

Example Install Diagram

Reverse Loop: EL 60-60

Exit Loop: EL 60-100

Shadow Loop: RL 54-40

Example Install Diagram
Driveway Width Graphic

Reverse Loop: SC 62-50

Exit Loop: SC 62-100

Shadow Loop: SC 57-50

Example Install Diagram

Reverse Loop: EL 62-60

Exit Loop: EL 62-100

Shadow Loop: RL 57-40

Example Install Diagram

Reverse Loop: SC 62-50

Exit Loop: SC 62-100

Shadow Loop: SC 57-50

Example Install Diagram

Reverse Loop: EL 62-60

Exit Loop: EL 62-100

Shadow Loop: RL 57-40

Example Install Diagram
Driveway Width Graphic

Reverse Loop: SC 64-50

Exit Loop: SC 64-100

Shadow Loop: SC 57-50

Example Install Diagram

Reverse Loop: EL 64-60

Exit Loop: EL 64-100

Shadow Loop: RL 57-40

Example Install Diagram

Reverse Loop: SC 64-50

Exit Loop: SC 64-100

Shadow Loop: SC 57-50

Example Install Diagram

Reverse Loop: EL 64-60

Exit Loop: EL 64-100

Shadow Loop: RL 57-40

Example Install Diagram
Driveway Width Graphic

Reverse Loop: SC 66-50

Exit Loop: SC 66-100

Shadow Loop: SC 60-50

Example Install Diagram

Reverse Loop: EL 66-60

Exit Loop: EL 66-100

Shadow Loop: RL 60-40

Example Install Diagram

Reverse Loop: SC 66-50

Exit Loop: SC 66-100

Shadow Loop: SC 60-50

Example Install Diagram

Reverse Loop: EL 66-60

Exit Loop: EL 66-100

Shadow Loop: RL 60-40

Example Install Diagram
Driveway Width Graphic

Reverse Loop: SC 68-50

Exit Loop: SC 68-100

Shadow Loop: SC 63-50

Example Install Diagram

Reverse Loop: EL 68-60

Exit Loop: EL 68-100

Shadow Loop: RL 63-40

Example Install Diagram

Reverse Loop: SC 68-50

Exit Loop: SC 68-100

Shadow Loop: SC 63-50

Example Install Diagram

Reverse Loop: EL 68-60

Exit Loop: EL 68-100

Shadow Loop: RL 63-40

Example Install Diagram
Driveway Width Graphic

Reverse Loop: SC 70-50

Exit Loop: SC 70-100

Shadow Loop: SC 66-50

Example Install Diagram

Reverse Loop: EL 70-60

Exit Loop: EL 70-100

Shadow Loop: RL 66-40

Example Install Diagram

Reverse Loop: SC 70-50

Exit Loop: SC 70-100

Shadow Loop: SC 66-50

Example Install Diagram

Reverse Loop: EL 70-60

Exit Loop: EL 70-100

Shadow Loop: RL 66-40

Example Install Diagram
Driveway Width Graphic

Reverse Loop: SC 72-50

Exit Loop: SC 72-100

Shadow Loop: SC 69-50

Example Install Diagram

Reverse Loop: EL 72-60

Exit Loop: EL 72-100

Shadow Loop: RL 69-40

Example Install Diagram

Reverse Loop: SC 72-50

Exit Loop: SC 72-100

Shadow Loop: SC 69-50

Example Install Diagram

Reverse Loop: EL 72-60

Exit Loop: EL 72-100

Shadow Loop: RL 69-40

Example Install Diagram
Driveway Width Graphic

Reverse Loop: SC 74-50

Exit Loop: SC 74-100

Shadow Loop: SC 72-50

Example Install Diagram

Reverse Loop: EL 74-60

Exit Loop: EL 74-100

Shadow Loop: RL 72-40

Example Install Diagram

Reverse Loop: SC 74-50

Exit Loop: SC 74-100

Shadow Loop: SC 72-50

Example Install Diagram

Reverse Loop: EL 74-60

Exit Loop: EL 74-100

Shadow Loop: RL 72-40

Example Install Diagram
Need a bigger loop or longer lead-in lengths? Contact Us to Order Contact Us to Order Contact Us to Order Contact Us to Order

Vehicle Loop Installation Sealants & Calculator

Installing vehicle detection loops isn't just about proper placement, it's also about protecting your installation for the long haul. The right sealant ensures your loop wires stay secure, insulated, and free from moisture or debris. Equally important are the accessories that make installation, testing, and maintenance easier and more reliable. Below, you'll find a breakdown of our most trusted loop sealants and must-have tools. Whether you're sealing a loop in extreme weather or troubleshooting a system in the field, these products help ensure your installation is smooth, professional, and built to last.

BD Vehicle Loop Sealant

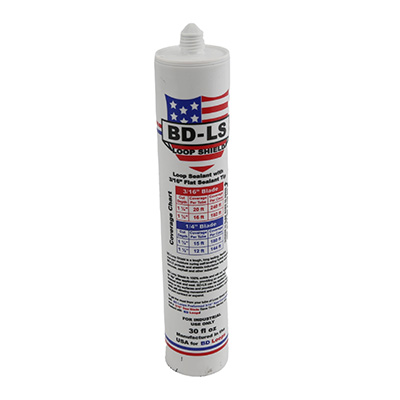
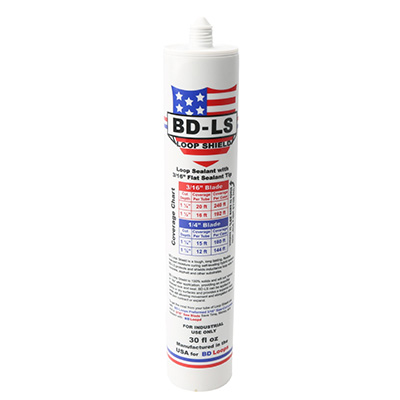
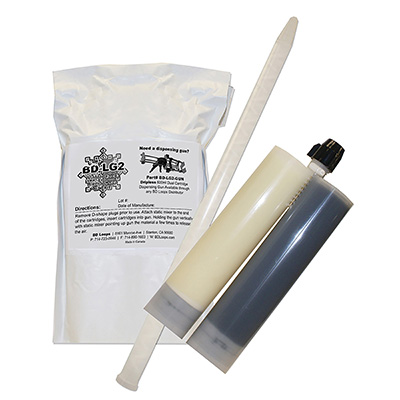
The BD Loop Shield Caulk Sealant and BD-LG2 are professional-grade sealants designed to protect loop wire installations in various conditions. The Shield Caulk Sealant features a self-leveling, UV- and weather-resistant polymer formula that adheres to surfaces like concrete, asphalt, and brick, and can even be applied to damp areas. It comes in a 30oz tube with applicator tips and is made in the USA from 100% solid materials that won't shrink. The BD-LG2 is a two-component polyurethane sealant formulated for cold-weather use, maintaining flexibility and strength in low temperatures while bonding to metal, plastic, and rubber for a durable, airtight seal.

How Much Loop Sealant Do You Need?

To determine how many tubes of sealant you need, you'll need to know:

  • Groove Width (in inches)
  • Groove Depth (in inches)
  • Loop Perimeter (in feet)
  • Lead-in Length (in feet)
  • Sealant Volume per Tube

Sealant Tubes = (Total Groove Length in Feet x 12) x (Groove Width in Inches x Groove Depth in Inches) / Sealant Tube Volume (in3)

Let's do some quick conversions to help get everything in the correct units first:

  • Loop Perimeter + Lead-In Length = Total Groove Length
  • Total Groove Length x 12 (to convert into inches)
  • Groove Width x Groove Depth x Groove Length = Groove Volume

Great! Now let's consider sealant volume:

Sealant Volume Per Tube (Approximate):

BD-LS (30oz Caulk Tube): 30 fl. oz. x 1.805 = 54.15 cubic inches

BD-LG2 (Dual Cartridge Tube): 22 fl. oz. x 1.805 = 39.71 cubic inches

So now the we have simlified the formula to:
Sealant Tubes = Groove Volume / Sealant Tube Volume.
Follow along with the example calculation:

Example Calculation:

Let's say you're installing a 20 ft loop with a 50 ft lead in:

  • Groove Width: 0.25" (1/4")
  • Groove Depth: 1.5"
  • Loop Perimeter: 30 ft
  • Lead-in Length: 20 ft
  • You want to use BD-LS (30oz Caulk Tube): 54.15 cubic inches of sealant
  1. Total Groove Length = Loop Perimeter + Lead-In Length
    30 ft + 20 ft = 50 ft
  2. Total Groove Length in Inches = Total Groove Length x 12
    50 ft x 12 in = 600 in
  3. Groove Volume = Groove Width x Groove Depth x Groove Length
    .25" x 1.5" x 600" = 225" cubed cubic inches
  4. Number of Tubes Needed = Groove Volume / Sealant Tube Volume
    225" cubed cubic inches / 54.15 cubic inches = 4.16 tubes of sealant
  5. Round 4.16 to 5 and purchase an extra to account for what does not make it out of the tube and spillage. = 6 total tubes of sealant

Replace any of these variables with your projects requirements/needs to calculate the number of tubes of sealant you will need for a proper and secure installation.

How Much Sand Do You Need for Direct Burial Loops?

Dry sand is used to fully surround and protect direct burial loops inside the trench. To determine how many bags of sand you'll need, gather the following info:

  • Loop Perimeter (in feet)
  • Lead-in Length (in feet)
  • Trench Width (in inches)
  • Trench Depth (in inches)
  • Volume per Bag of Sand (in cubic feet)

Sand Volume (cubic feet) = ((Loop Perimeter + Lead-In Length) x 12) x (Trench Width x Trench Depth) / 1728

We're calculating the trench volume in cubic inches, then converting to cubic feet (since 1 cubic foot = 1728 cubic inches). Once you know the total volume, divide by the volume each sand bag covers to get the total number of bags required.

Standard Sand Coverage: 1 bag of 50 lb dry sand = about 0.5 cubic feet.

So, the simplified formula becomes:
Total Sand Bags = Trench Volume (cubic feet) / 0.5
Follow along with the example calculation:

Example Calculation:

Let's say you're installing a 6' x 8' loop with a 20 ft lead-in:

  • Loop Perimeter: 6 + 6 + 8 + 8 = 28 ft
  • Lead-in Length: 20 ft
  • Trench Width: 2"
  • Trench Depth: 3"
  • Each sand bag covers 0.5 cubic feet
  1. Total Groove Length = Loop Perimeter + Lead-In Length
    28 ft + 20 ft = 48 ft
  2. Total Groove Length in Inches = Total Groove Length x 12
    48 ft x 12 = 576 in
  3. Trench Volume in Cubic Inches = Total Groove Length x Trench Width x Trench Depth
    576 x 2 x 3 = 3456 cubic inches
  4. Convert to Cubic Feet = Trench Volume (inches) / 1728
    3456 / 1728 = 2 cubic feet
  5. Number of Sand Bags = Trench Volume (cubic feet) / .5
    2 / 0.5 = 4 bags
  6. Round up and add 1 extra bag for safety/spillage = 5 total bags of sand

Adjust the variables above to match your project dimensions and determine how many bags of sand you'll need for a proper direct burial loop installation.

BD Vehicle Loop Accessories

Loop Sealant Dispensing Gun
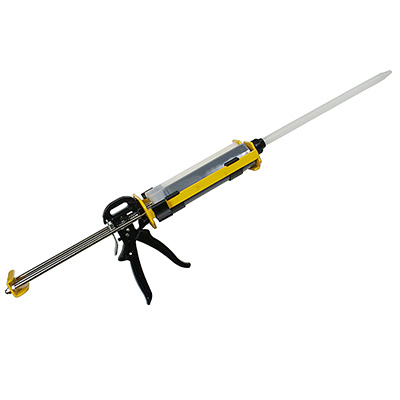
Loop Sealant Dispensing Gun

This professional-grade dispensing gun is specially designed for use with dual-cartridge, two-component sealants like the BD-LG2 Winter-Grade Sealant. Its dripless design ensures a clean application with no mess or waste, making it ideal for both professional installers and DIYers. The gun features ergonomic grips for comfort and precise control, allowing for smooth and consistent sealant flow. If you're working with two-part sealants in challenging environments, this tool is a must-have for reliable and efficient application.

Shop Now

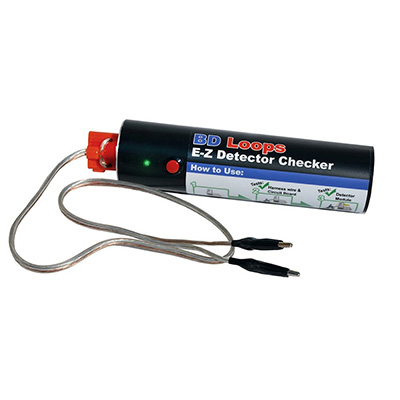
E-Z Detector Checker

E-Z Detector Checker

The E-Z Detector Checker is a compact, handheld tool designed to simplify troubleshooting of vehicle loop detection systems. Acting as a fully functional test loop, it allows technicians to quickly identify issues in the detector, wiring, or loop circuit by simulating real-world conditions. An LED light confirms if the loop is energized, and a simple button press simulates a vehicle detection to verify detector and operator response. Housed in a durable PVC shell and powered directly by the gate operator, it requires no batteries and significantly reduces the time and guesswork involved in servicing loops, helping to avoid unnecessary loop cuts and repeat service calls.

Shop Now

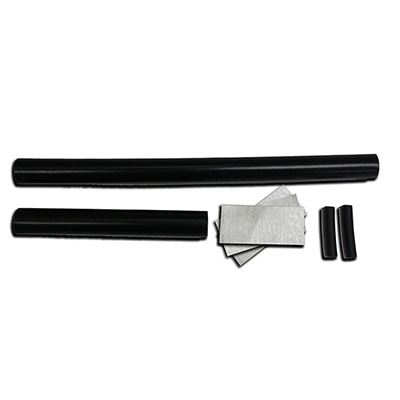
Water-Tight Splice Kit

Water-Tight Splice Kit

When splicing loop wires is necessary, the BD Loops Water-Tight Splice Kit provides a reliable solution for creating moisture-resistant, corrosion-proof connections. The kit includes double-walled, adhesive-lined shrink tubing and glue tape to create a layered, watertight seal. It's designed for use with preformed loops or 16 AWG or thicker wires, and is ideal for both repairs and extensions. Proper splicing prevents signal interference and protects against long-term damage from water exposure. Tools like a soldering iron and heat gun are required for best results.

Shop Now

BD Loops offers a full suite of products designed to make your vehicle detection installations more efficient, durable, and reliable. From expertly engineered preformed loops to high-quality sealants and essential accessories, every component is built with performance and installer convenience in mind. Whether you're working in harsh weather, on varied surfaces, or need to ensure long-term protection for your loop system, BD Loops provides the trusted solutions professionals rely on.

If you have any questions about loop selection, sealant quantities, or installation best practices, please don't hesitate to reach out. We're here to help you get the job done right.

Contact Us